


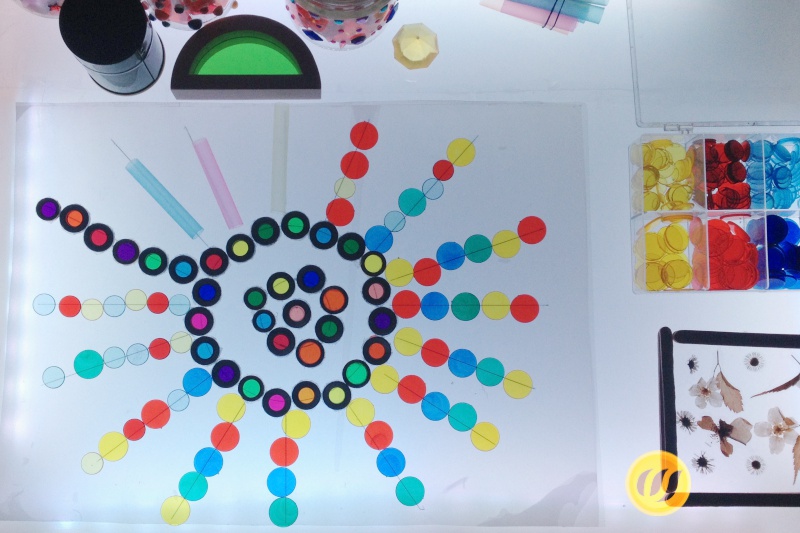
Introduction
In search for a proper light table, because our light table in our sand and water table was too wobbly and got too small, I found this Ikea hack from "Hobby Mommy Creations". Here is our version, with a few small changes, improvements and extentions.
Things needed
- IKEA Children's Table
- Polystyrol sheet from the hardware store (approx. 50 x 100 cm, minimum 2,5mm thick)
- small square bend hooks
- 4 LED light strips (Eclipse)
- Tracing paper
- Tools: jigsaw, screw driver, double-sided sticky tape
Steps
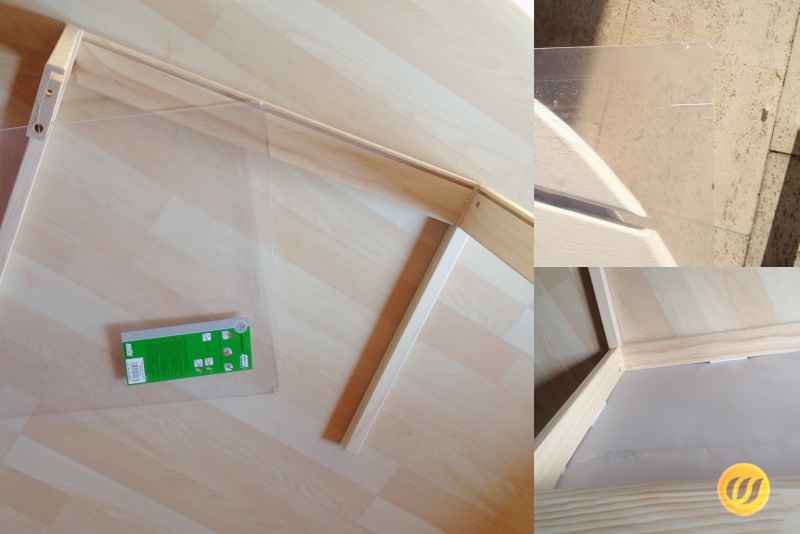
Unpack the table and place the table board on top of the polystyrol sheet. Draw the outline including the cut out corner edge, cut out using a jigsaw.
A fine grade sawing blade will make a cleaner and smoother cut. If you use sticky tape along the cutting edge there will be less splinters.
Fix the transparent paper on top of the polystyrol sheet, built the table using the polystyrol sheet instead of the table top.
Because the sheet might be thinner than the original table top, use folded cardboard to fill the gap and make the sheet sit firmly.
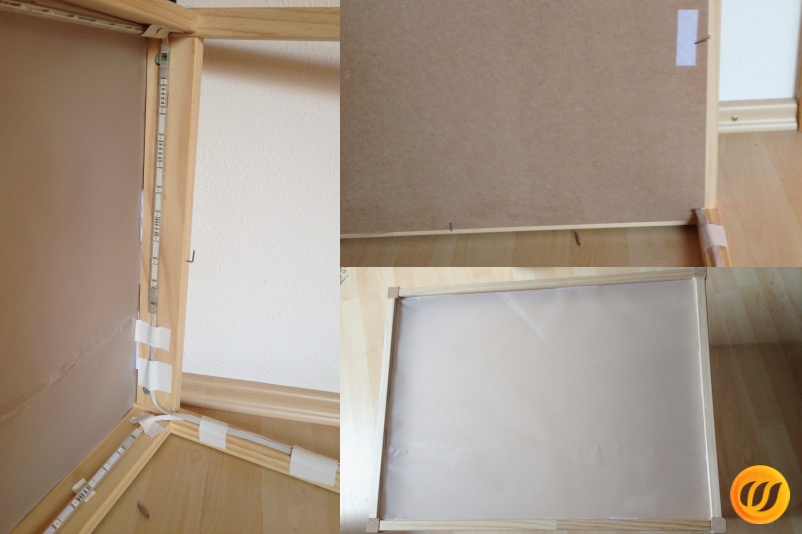
Use double sided adhesive tape to fix the LED strips, also fix the cables at the same time. - Ready is the light table in the simple version.
If you want a colour changing light table use colour LEDs.
For a more elegant and tidier solution you only need to do the following steps.
Using the jigsaw make the corner cut out of the original table top a little bigger, turn the table around and use the table top as a neat finish at the bottom of the light box.
Fixate the table top with screw hooks. Because of the reflecting surface the light is now evenly distributed, in addition the electric installations are protected, but they will stay accessible for repairs due to the screw hooks.
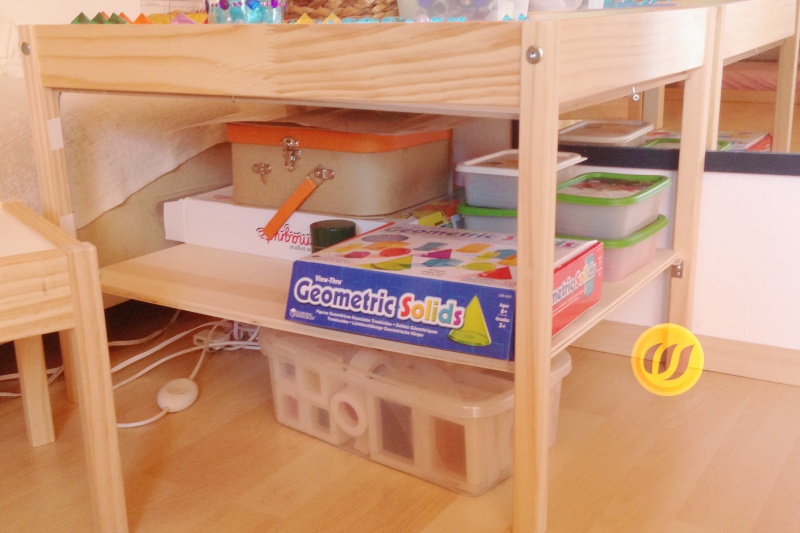
Extension for more storage space
After a few weeks we realised, that it would be nice to have the material for the light table within reach, therefore I built a shelf into the table.
- Plywood approx. 61x45cm and 10mm thick
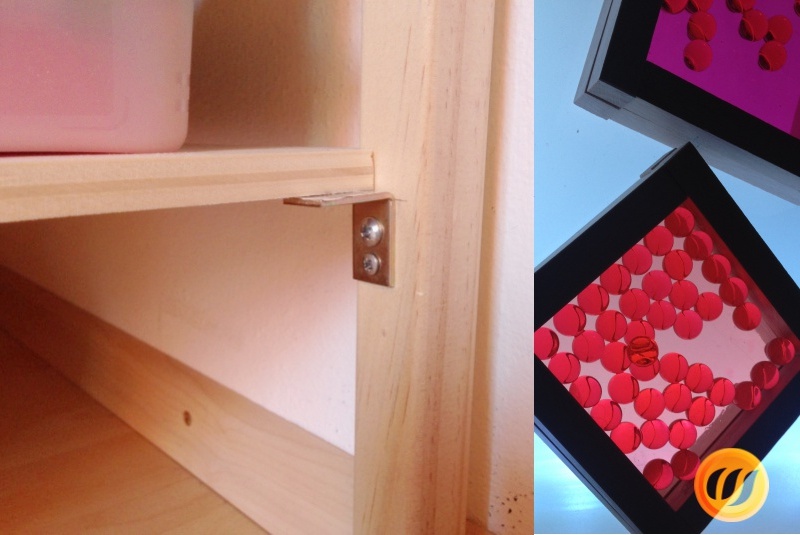
- 4 Corner braces
- Jigsaw and screw driver
Steps
Use the dismantled table top as a template, outline the cut out corner edge on the shelve board and cut out using the saw.
Screw the braces in equal distance onto the table legs and insert the shelve. Fill with working materials for the light table - and go!
No time to make your own?
There are ready-made alternatives:


